Wordpress
5 Common WordPress issues (and how to fix them) | Storm Internet
I’ve previously written about a few methods that can be used to diagnose common WordPress issues. Tracking down the root cause of WordPress issues is a valuable skill. Once you’ve identified the cause of your WordPress issue, all that’s left is to apply the solution. In this post, I’ll be sharing five common WordPress issues and methods that can be used to solve them.
Here are the issues we’ll cover in this post:
- Error establishing a database connection (during setup)
- Unable to write to wp-config.php
- Unable to create directory
- The uploaded file exceeds the upload_max_filesize directive in php.ini
- You are not allowed to upload this file type
- Bonus: WordPress Stuck in Maintenance Mode
Before you get started, backup your website files and database. When possible, use the backup to restore your WordPress site to your local machine or a staging server. Use the staging site to test possible fixes.
Error establishing a database connection (during setup)
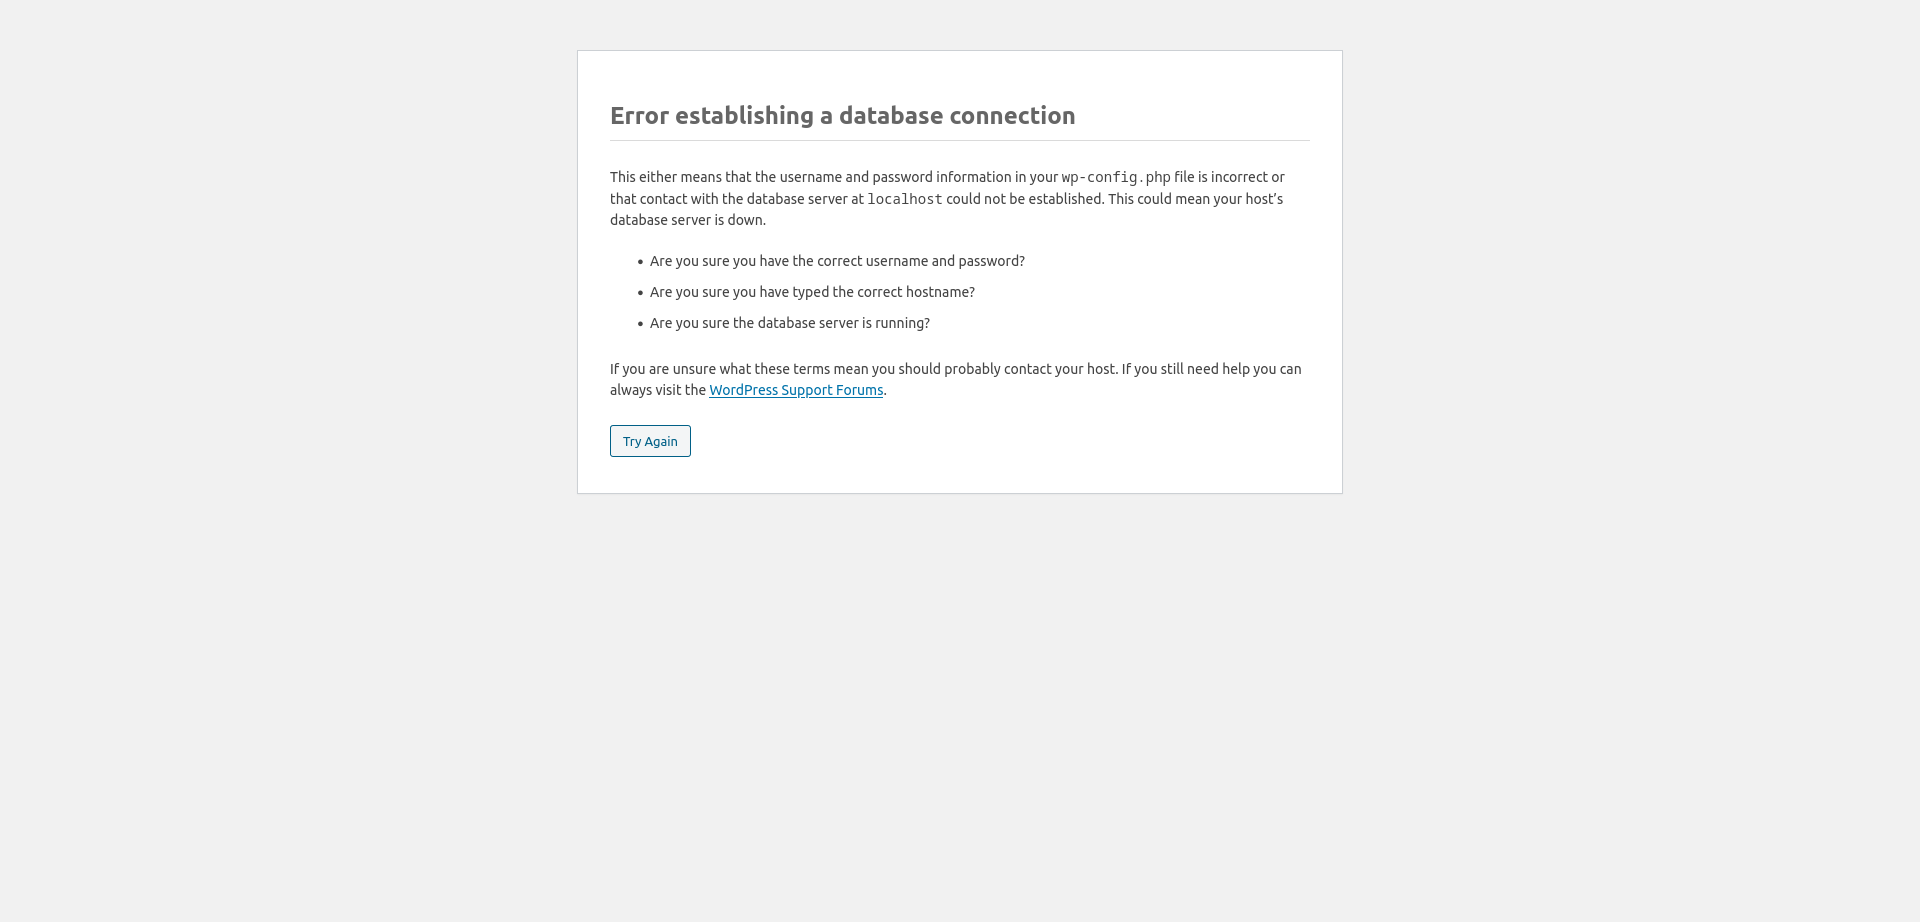
WordPress is unable to connect with your database during setup. The reason for this could be any of the following:
- Incorrect database credentials
- Incorrect database server
- The database service isn’t active
- Firewall rules blocking access to the database port
Solution: If the database server name is correct and the database server is active, reset the database user password.
If you’re using cPanel, log into your account and navigate to Databases > MySQL Databases. Scroll down to Current Users and click on Change Password next to the relevant account.

If you’re on Linux, follow these instructions to change your MySQL user password.
When you’ve changed the MySQL user password and you’re sure all other details are correct, check your firewall settings. One possible way to test this is to telnet (when available) to port 3306 of your database server from the server hosting your WordPress files. If a connection can’t be made, then the database server isn’t active, or a connection to port 3306 is being blocked.
Unable to write to wp-config.php
If WordPress is unable to write to wp-config.php, chances are that it doesn’t have permission to write to the wp-config.php file. This is mainly caused by one of the following:
- Your WordPress files are owned by an account that requires elevated privileges (e.g. ‘root’)
- Your WordPress files are set to read-only
This occurs most frequently on Linux systems.
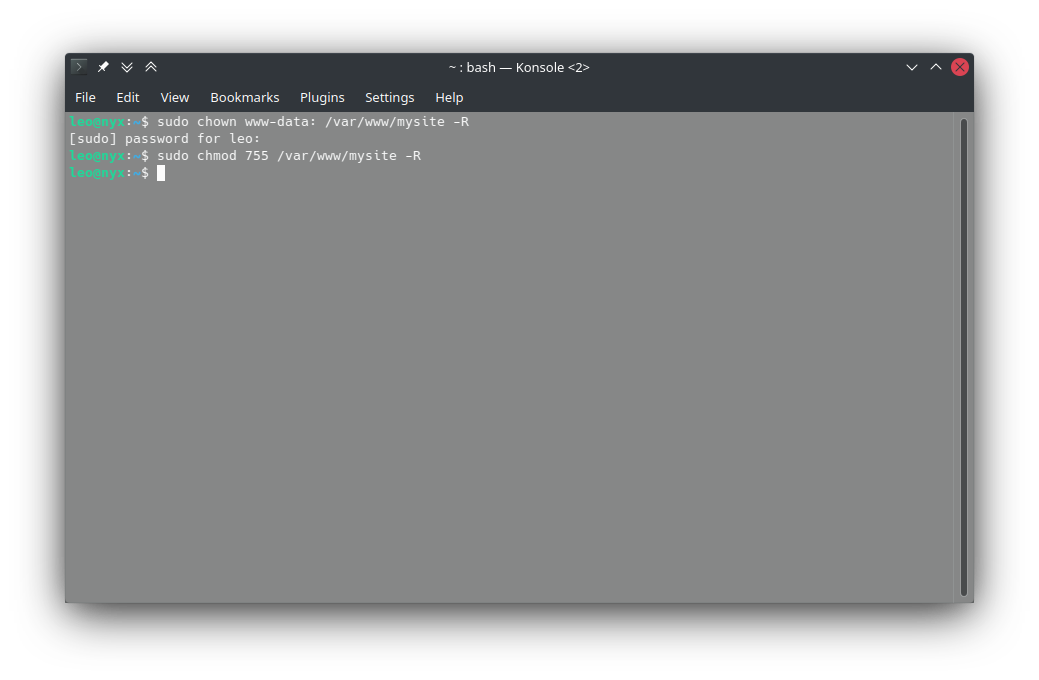
Solution: Check file ownership and permissions. Although there are different configurations for ownership and group, the easiest way is to assign the web server user (www-data if you’re using Apache) to both:
sudo chown www-data: /var/www/<WordPress root folder> -R
Similarly, file and directory permissions can have different configurations, with directories often set to 0644 to be read-only (with the exclusion of directories that have to be written to, like the uploads directory), and files to 0755 to be readable, writable, and executable. But to save time while debugging, we can apply 0755 to all WordPress files and directories:
sudo chmod 755 /var/www/<WordPress root folder> -R
When you’re done, run the WordPress setup again to test the solution.
Unable to create directory
Similarly, if you encounter the “Unable to create directory” error when uploading a theme or plugin, the cause is likely to be incorrect ownership and / or permissions of the uploads directory.
Solution: Make the uploads directory writable:
chmod 755 /var/www/<WordPress root folder>/wp-content/uploads -R

If you’re on Linux, you can also use the chown command to set ownership and group. For example, if you’re running Apache, the command would be:
sudo chown www-data: /var/www/<WordPress root folder>/wp-content/uploads -R
The uploaded file exceeds the upload_max_filesize directive in php.ini
The web server determines the maximum size of files that can be uploaded to WordPress. These limits are specified in the PHP configuration file PHP.ini.
When you try to upload a plugin, theme, or other file that’s bigger than the limits specified in PHP.ini, you’ll receive the following error (or similar):

Solution: If you’re using cPanel, locate Software > MultiPHP INI Editor

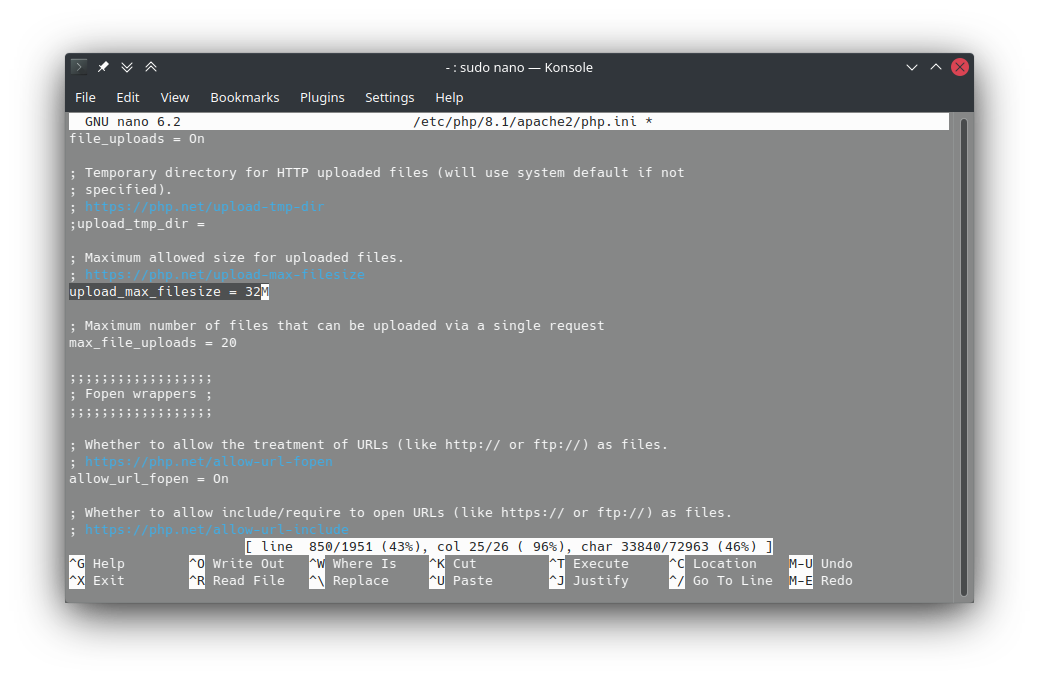
From the drop-down, select the site for which you want to change the PHP.ini configuration. Scroll down to upload_max_filesize and increase the upload limit as necessary.

In Linux, you’ll need to edit the PHP.ini file manually. If you’re running Apache, the PHP.ini file is usually located at /etc/php/8.1/apache2 (here ‘8.1’ is the PHP version, and should be replaced by your own).
sudo nano /etc/php/8.1/apache2/php.ini
You are not allowed to upload this file type
Some file types are more likely to contain harmful code than others. To this end, these files are blocked by default by WordPress.
In the example below, I created an empty .exe file and attempted to upload it via the Media Library.

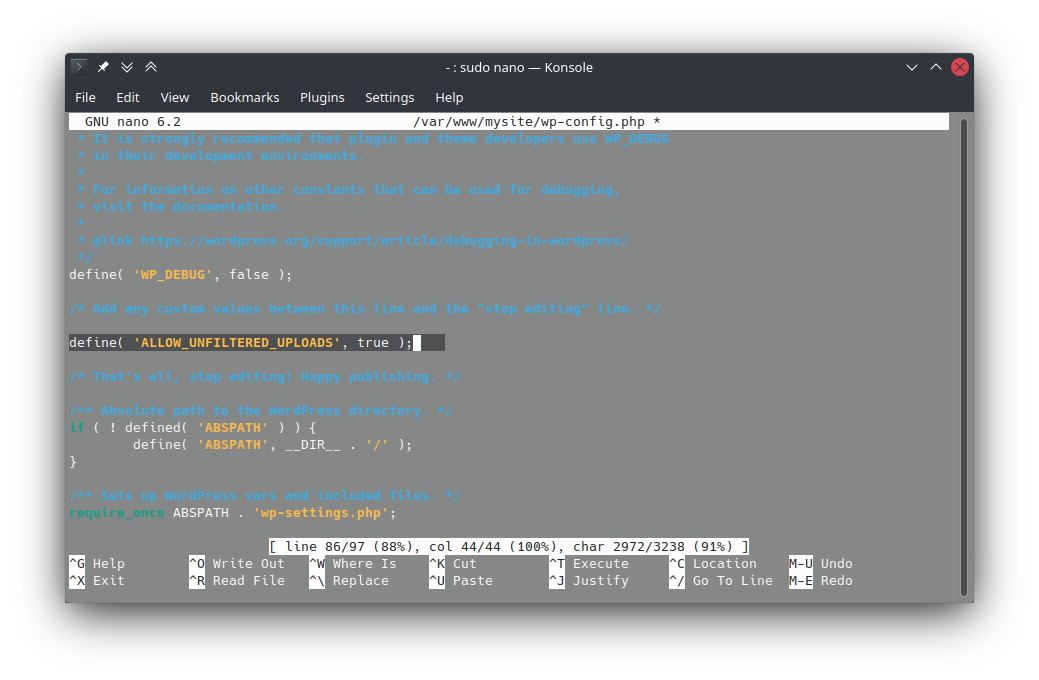
Solution: You can disable this security feature by editing the wp-config.php file. Once the file is open, add the following line just above the “That’s all, stop editing! Happy publishing” line:
define( 'ALLOW_UNFILTERED_UPLOADS', true );
But, keep in mind that this will allow all users capable of uploading files the ability to upload any file type.
Bonus: WordPress Stuck in Maintenance Mode
Visitors who arrive at your website while updates are running are likely to encounter the following screen:
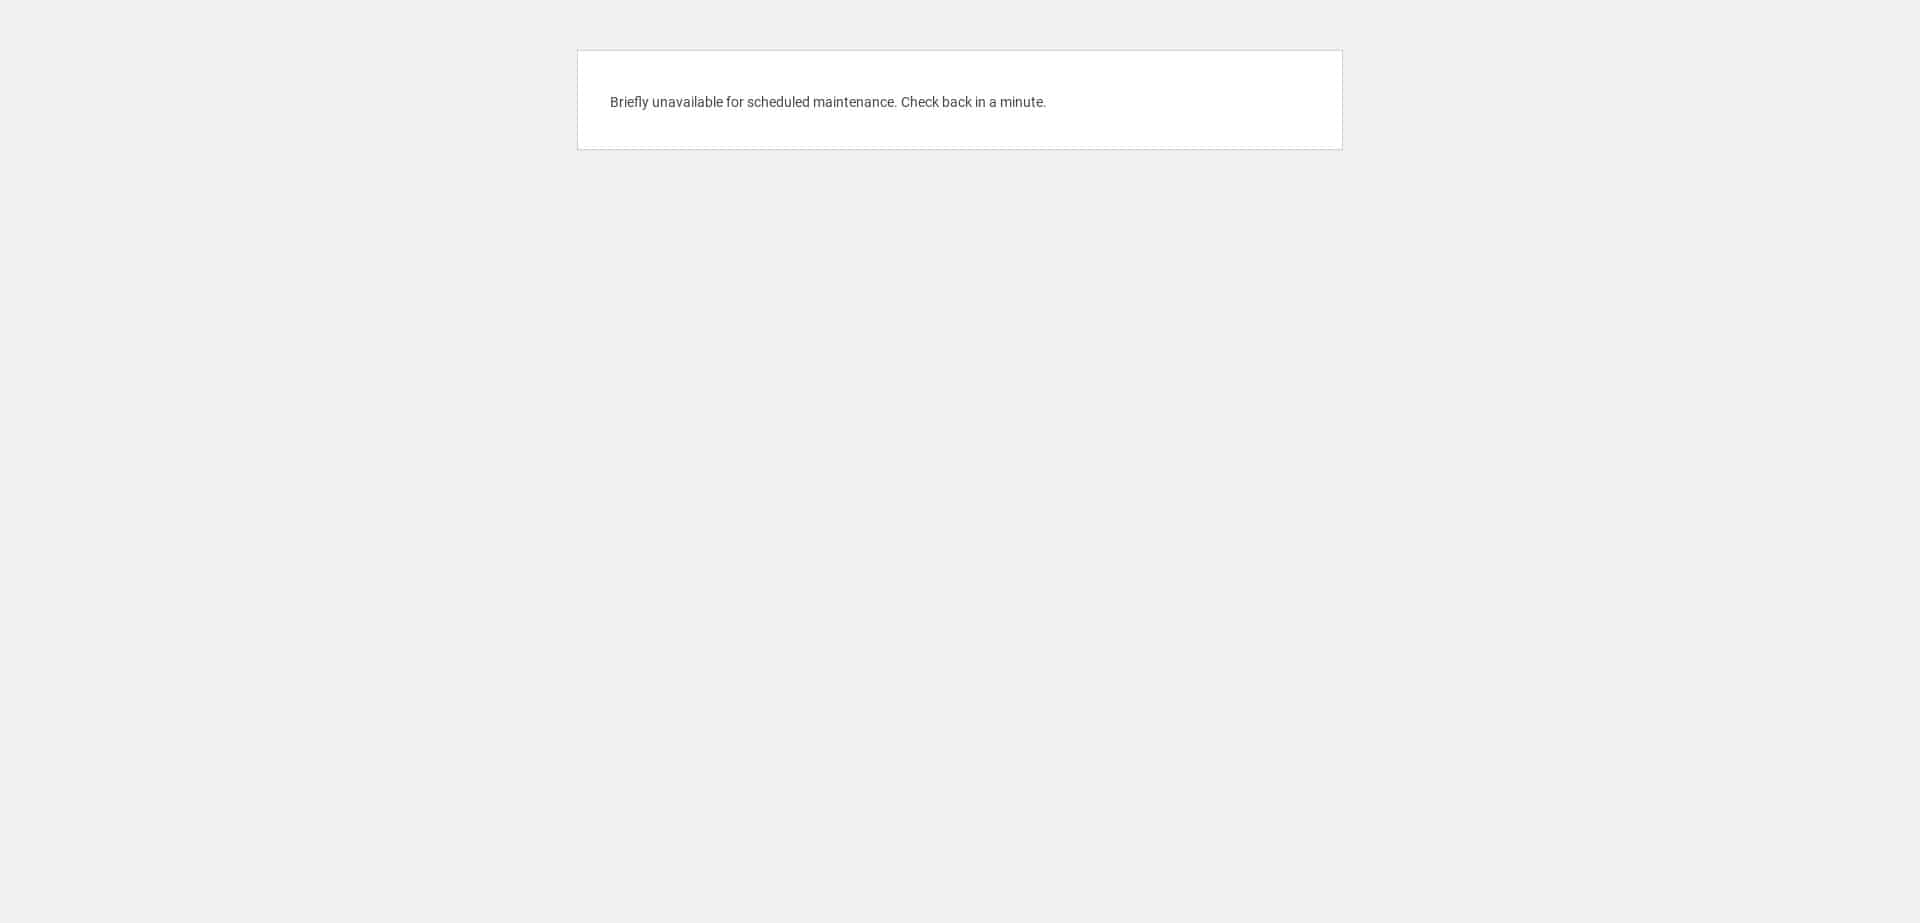
It’s a simple notice that some maintenance is being done to your WordPress website. Given that updates are applied fairly quickly, sites return to operational status in a few minutes at most.
But sometimes things can go wrong during the update, and your WordPress website effectively becomes stuck in maintenance mode. This is where your ability to track down the cause of the error will come into play.
Possible cause: Broken plugins
Your first port of call should be to check for errors associated with the WordPress core or your themes and plugins. Something could have gone wrong while WordPress was downloading an update, or the developer made a mistake (rare, but it does happen.) The best place to look for these errors is the error log, as described here.
Solution: Check your connection speed
A slow or unstable connection is one of the most common causes of your WordPress site getting stuck in maintenance mode. Timeouts and incomplete WordPress core, plugin, or theme files can easily break a WordPress website.
These connection issues are easy to diagnose: If your updates take forever to download, it’s likely a speed issue. If your computer keeps reporting that it’s unable to connect to the internet, it’s likely an unstable connection.
Solution: Roll back the affected theme / plugin
If the log files point to an error with a theme or plugin, deactivate the affected theme / plugin in the WordPress dashboard, and run the updates again. WordPress should automatically restore to an operational state once the update process is complete.

But even when deactivated, buggy themes and plugins can still cause problems. If it’s an essential theme or plugin, compress the affected theme or plugin directory, delete the directory, and then restore a previous version of the theme / plugin from the backup you made before you started the update process (you did make a backup, didn’t you?).
Since the bulk update process is likely to leave your WordPress site stuck in maintenance mode again, you’ll have to manually update your themes and plugins – except the one causing the problem.
Possible Cause: The .maintenance file
Sometimes, just sometimes, the update process completes without a hitch, but your WordPress site is still stuck in maintenance mode. You’ve checked the log files but can’t find any relevant error messages.
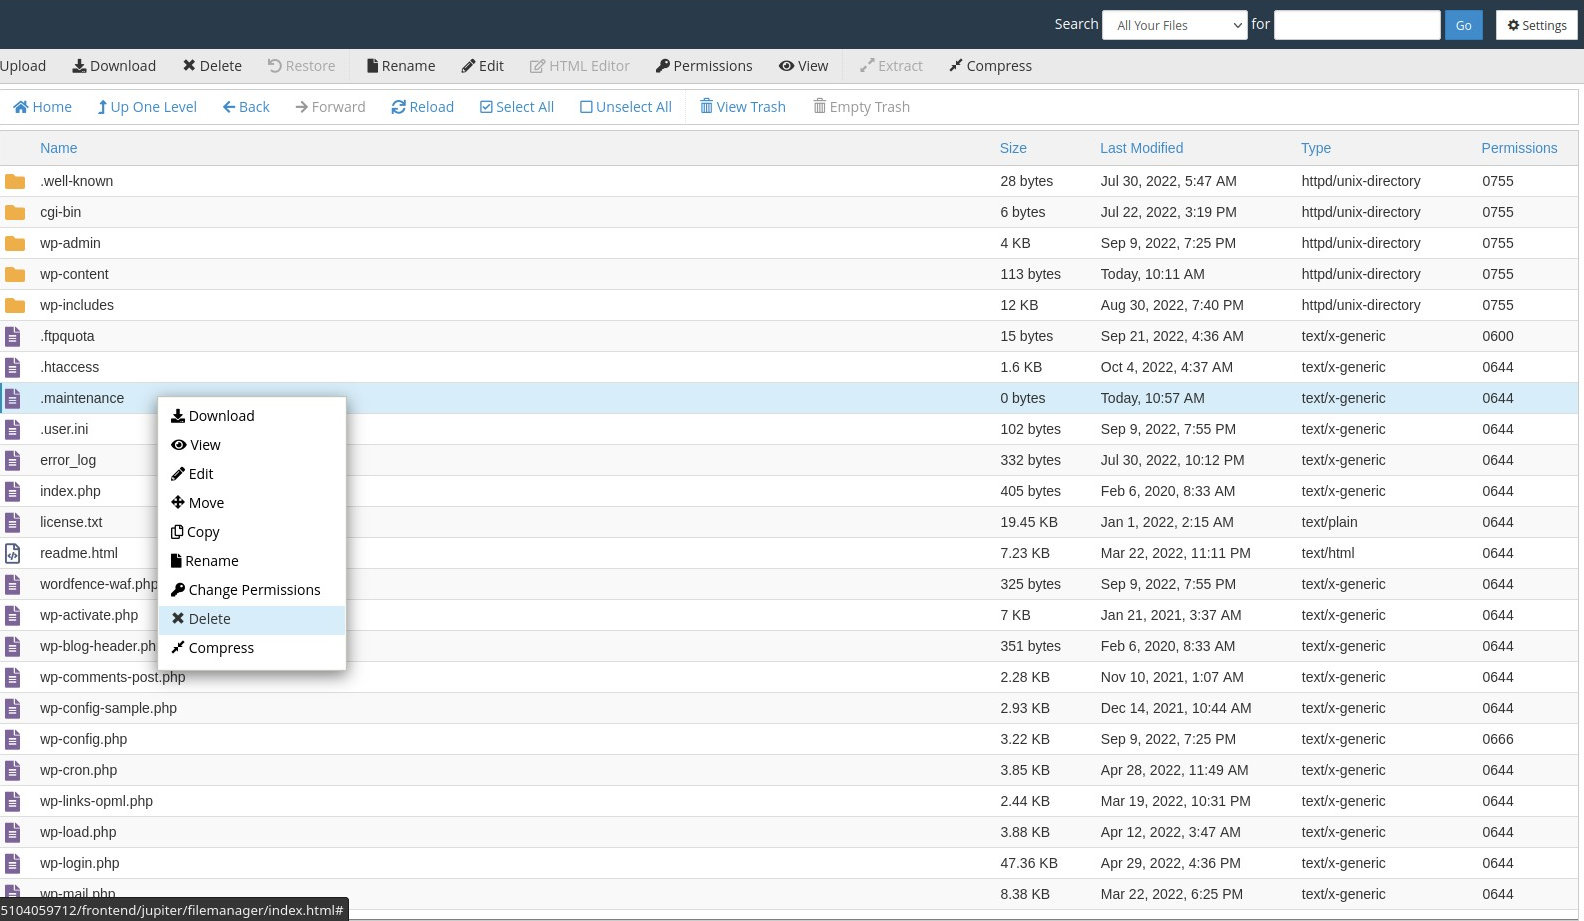
When WordPress updates your website, it creates a temporary file called .maintenance (‘dot-maintenance’). The dot preceding the file name means it’s hidden. WordPress will remain in maintenance mode until this file is removed.
Solution: Remove the .maintenance file
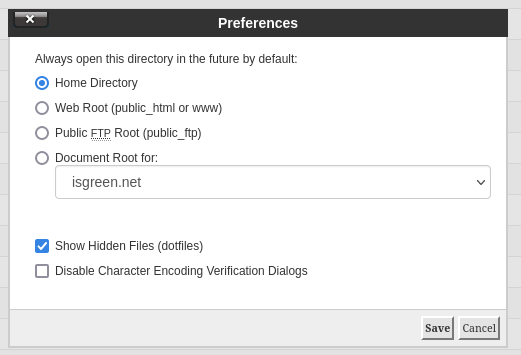
If you’re using cPanel, you may not be able to see the .maintenance file by default. You’ll have to enable the ‘Show hidden files and folders’ setting by going to cPanel > File Manager, and then clicking on Settings in the top right-hand corner.
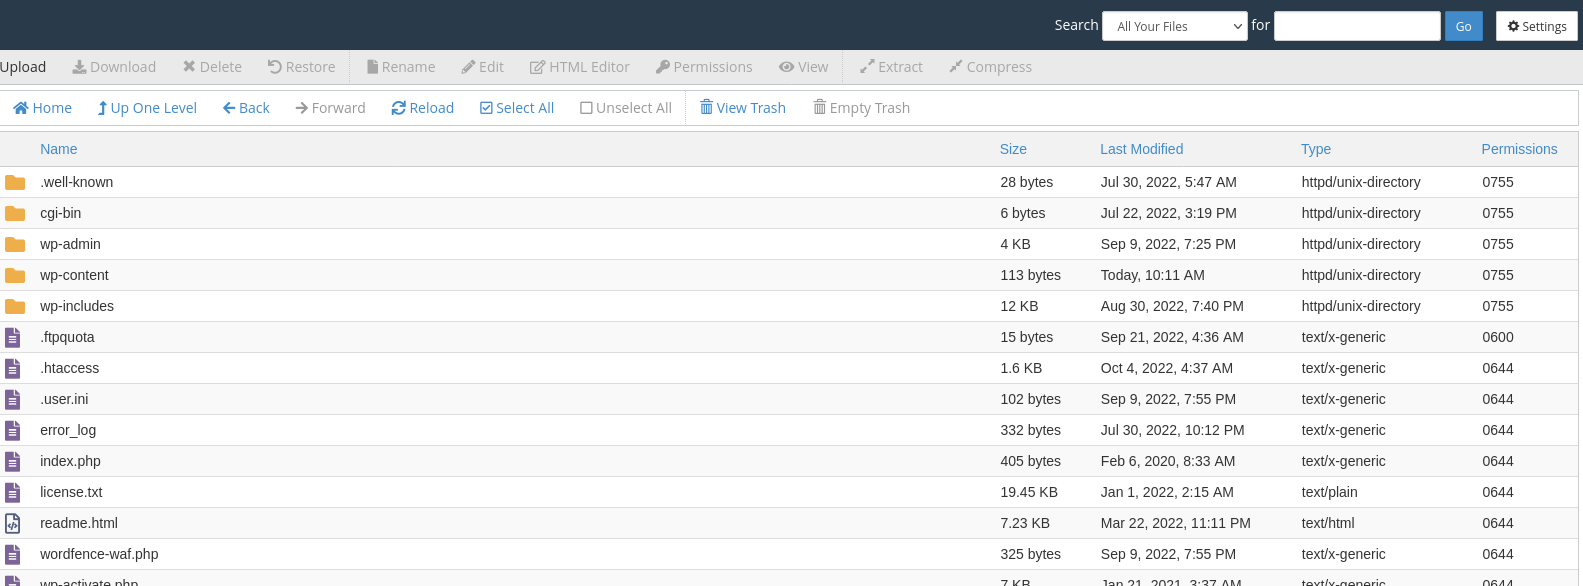
The Preferences dialog will appear. Enable ‘Show hidden files (dotfiles)’ and click Save.
Now go ahead and delete the .maintenance file.
Test that all’s working well by running the update process again (if applicable), and testing the front-end of your website.
Remember, if you’re a Storm Internet customer you can contact support for help with WordPress issues. While the depth of our involvement will be evaluated on a case-by-case basis, we can help you track down the root causes of your WordPress issues, and, at the very least, give helpful advice that’ll get you back on track.
Speak with a Storm Expert
Please leave us your details and we'll be in touch shortly
A Trusted Partner
